
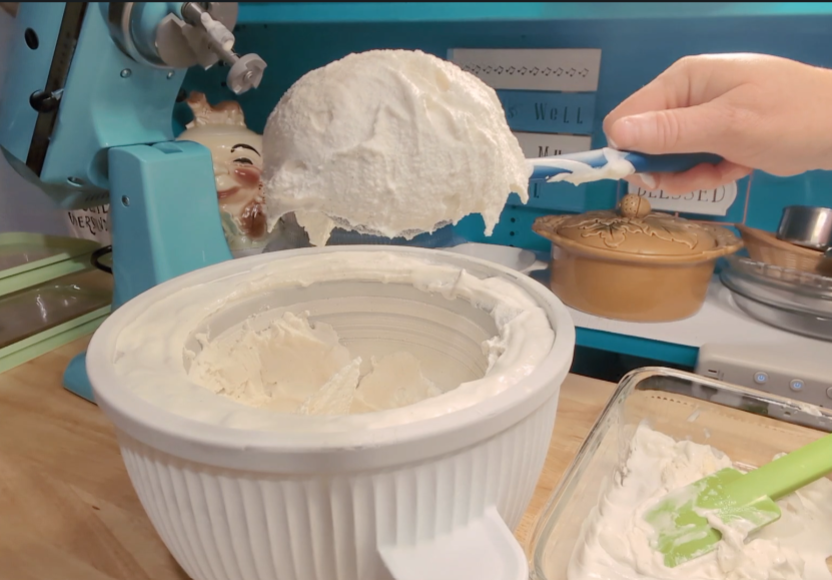
If you have ever tried making keto or sugar-free ice cream at home, you know the struggle: it tastes great right out of the churn, but once it hits the freezer, it turns into a solid brick of ice. I am thrilled to report that those days are over.
This recipe comes from the Let’s Celebrate low-carb cookbook by Natasha Newton. If you are following a keto or low-carb lifestyle, I highly recommend her cookbooks—she has an incredible collection of genuinely great recipes. This vanilla ice cream is honestly better than many of the sugar-filled versions I’ve had in the past, and you would absolutely never guess it is sugar-free.
*Heads up: This post contains affiliate links. If you click through and buy something, BobbiJos.com may earn a small commission at no extra cost to you. Whether it’s my favorite cast iron skillet for Southern cooking or the molds I use for Bobbi Jo’s treats, I only recommend tools I genuinely love and use in my own kitchen!*
Let’s Celebrate Low=Carb Cookbook – https://link.amazon/B07TnFnQp
KitchenAid Ice Cream Maker Attachment – https://link.amazon/B0ihE2agE
Monkfruit with Allulose Granular Sweetener = https://link.amazon/B0fB5M3oo
Borohouse Storage Containers – https://link.amazon/B0c0BVJYZ
Vanilla Bean Paste – https://link.amazon/B0hWIE5x0
The Secret to the Perfect Scoop
Unlike so many keto ice creams that get rock hard, this one stays perfectly scoopable days later, straight out of the freezer. The secret is the granular allulose, which prevents freezing rock-solid, keeping the texture creamy and smooth.
I followed Natasha’s base recipe but added my own little twist: one teaspoon of vanilla bean paste in addition to the vanilla extract. The paste gives it a rich, authentic vanilla bean flavor and those beautiful little black specks throughout.
Steve suggested we try it with some chocolate chips, so we topped our bowls with Bake Believe sugar-free chocolate chips. It was absolutely delicious, and Steve gave it his official “drool-worthy stamp of approval!”

My Favorite Ice Cream Gear
- The Maker: I use the KitchenAid Ice Cream attachment. It is incredibly easy to set up and does a flawless job churning the base into thick, creamy ice cream.
- The Storage: To keep it fresh (and perfectly scoopable), I highly recommend Borohouse Glass Storage containers. They are freezer-safe, airtight, and the absolute perfect size for a batch of homemade ice cream.
Sugar-Free Vanilla Bean Ice Cream
Yields: 1 Quart (Eight ½ cup servings) Nutrition (per serving): 174 calories | 0.2g net carbs Perfect for keto, diabetic diets, low-carb, or anyone watching their sugar and calorie intake.
Ingredients
- 2 cups heavy whipping cream
- 1 cup unsweetened almond milk
- ½ cup granular allulose
- 1 tsp vanilla extract
- 1 tsp vanilla bean paste (my special addition!)
- Optional topping: Bake Believe sugar-free chocolate chips
Instructions
- Mix the Base: Combine the heavy whipping cream, unsweetened almond milk, granular allulose, vanilla extract, and vanilla bean paste into a large mixing bowl. Whisk until the allulose is mostly dissolved and the ingredients are well incorporated.
- Chill: Cover the bowl and let the mixture chill in the refrigerator for at least 2 hours.
- Prep for Churning: Remove the bowl from the fridge and give the mixture one more good stir to ensure everything is perfectly blended.
- Churn: Pour the chilled mixture into your KitchenAid Ice Cream attachment (or your preferred ice cream maker). Churn according to the manufacturer’s directions until thick and creamy.
- Serve or Store: Serve immediately for a wonderful soft-serve texture, or transfer to a Borohouse Glass Storage container and place it in the freezer to enjoy later.

Leave a Reply