
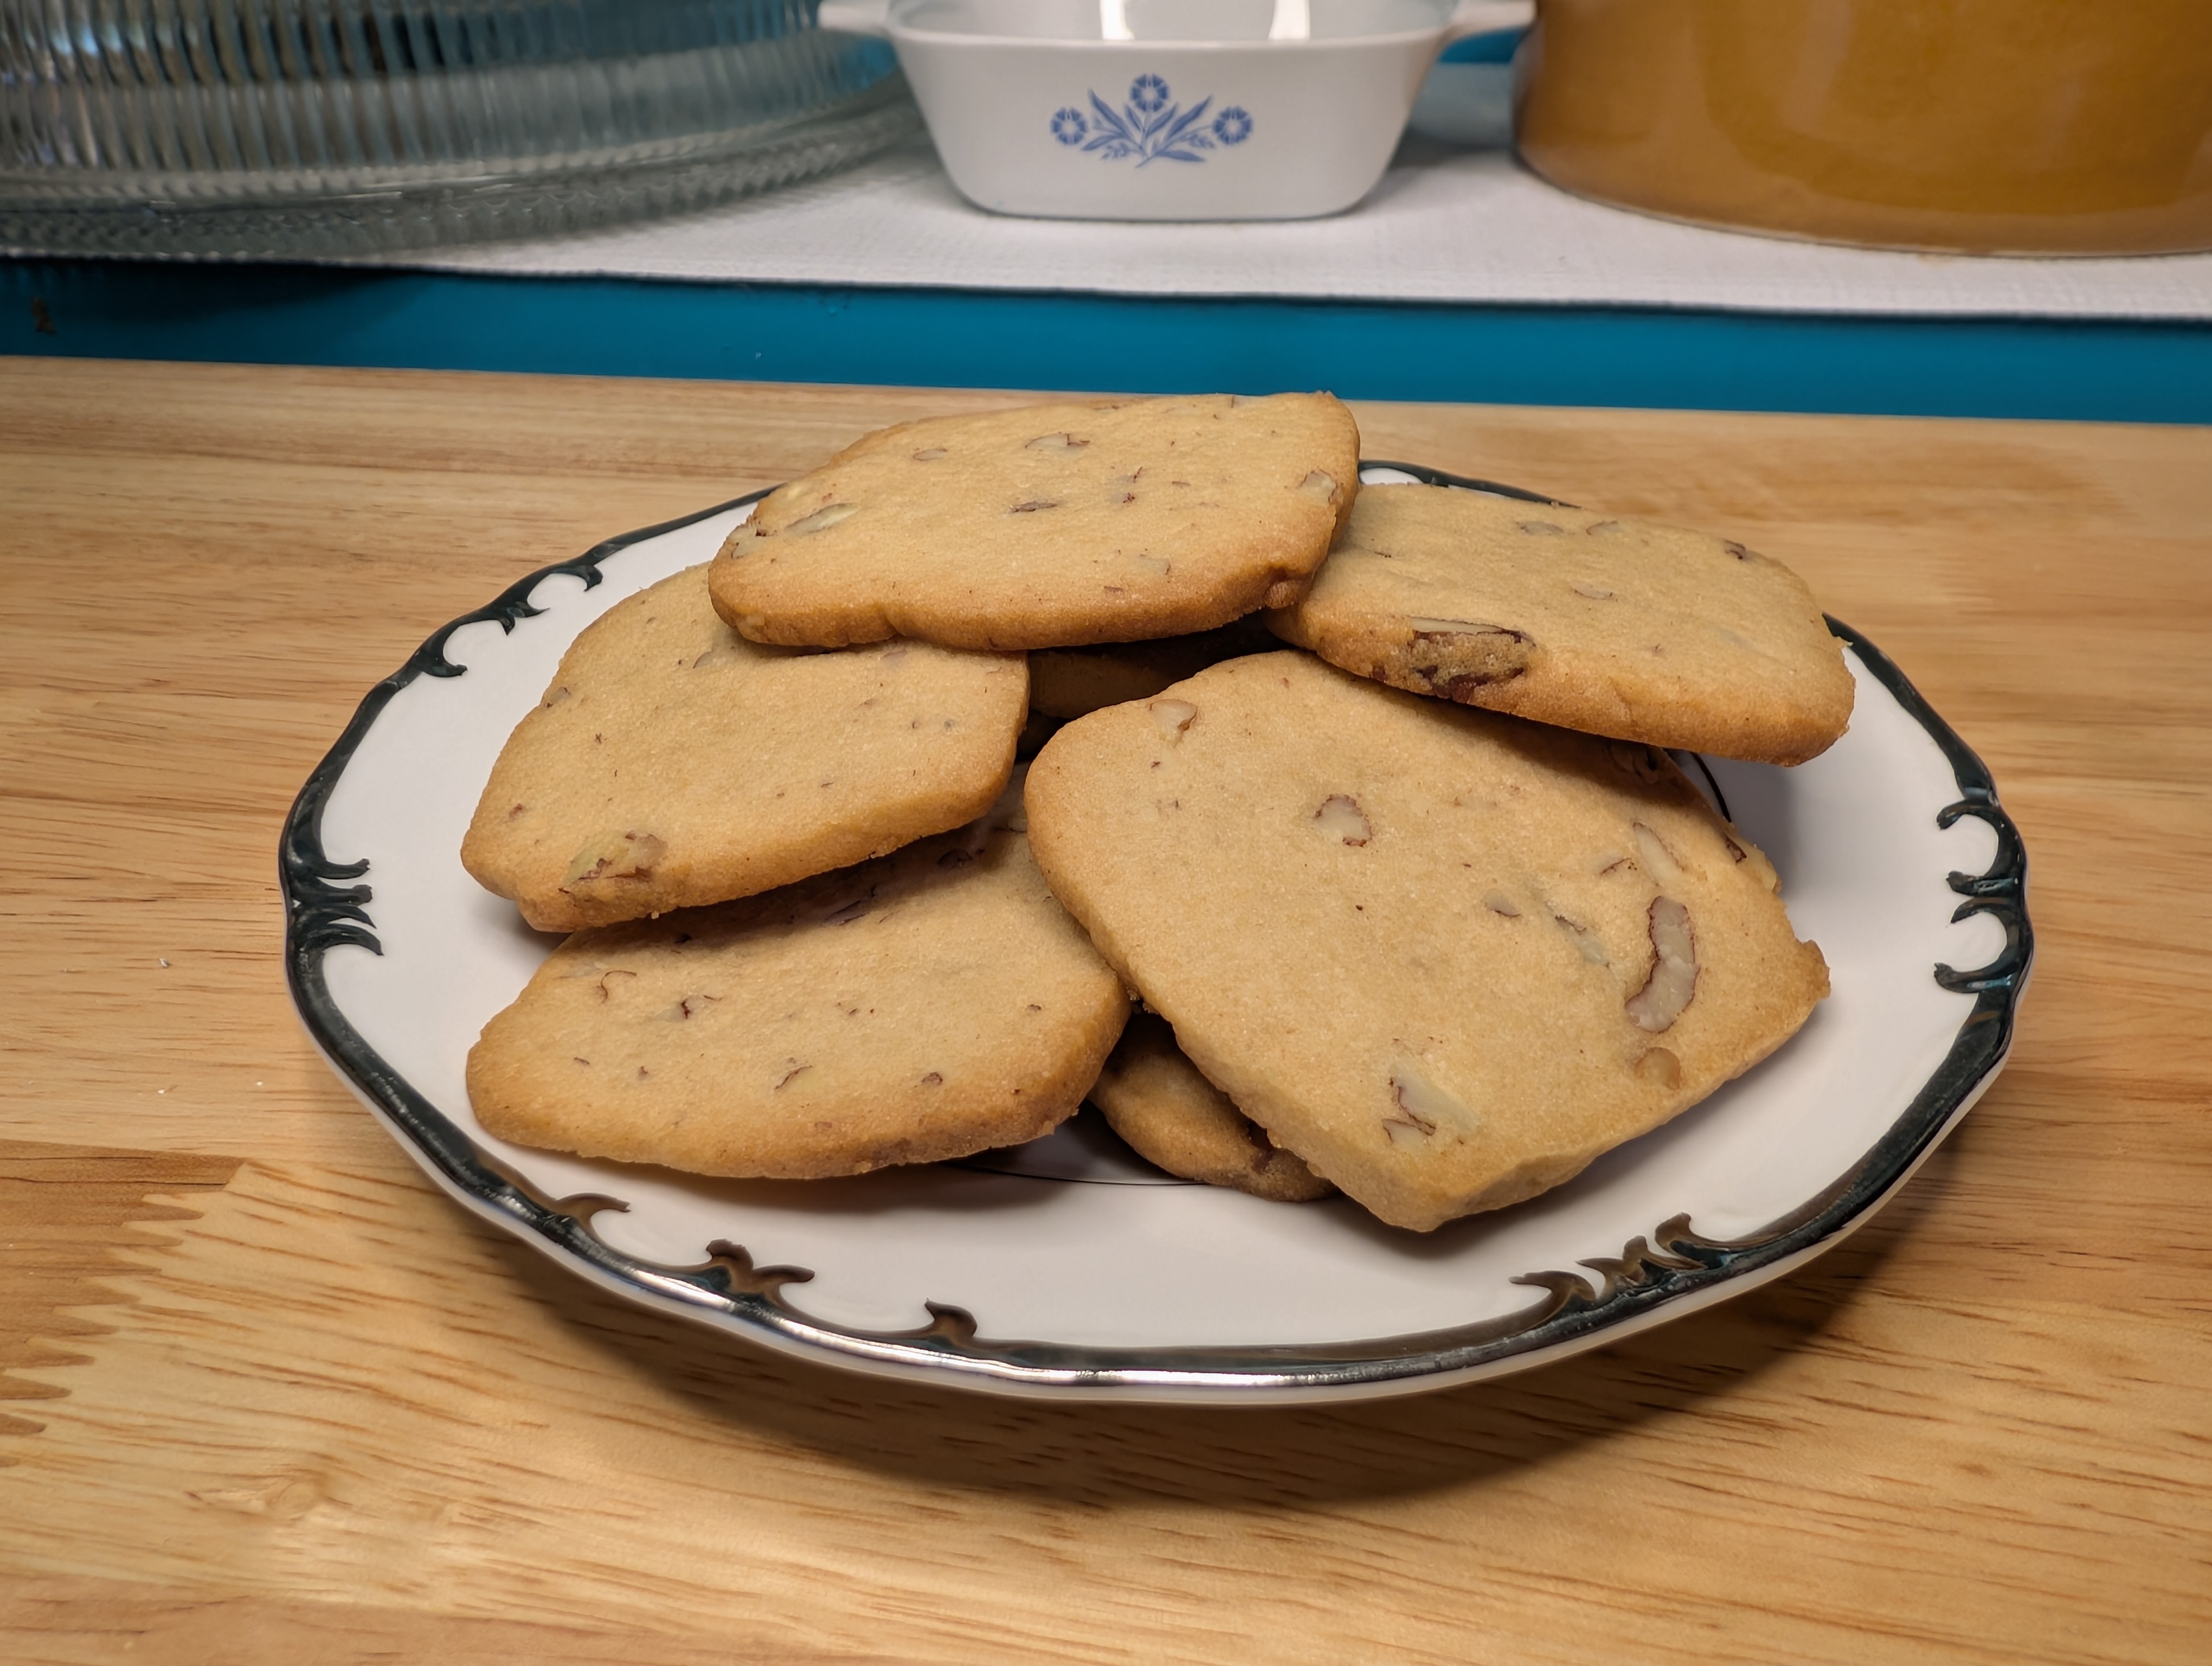

Welcome back to another recipe deep-dive on The Lost Cookbooks Show! If you’ve been following along, you know I love digging into mid-century appliance manuals to see how home cooking evolved. This week’s recipe is an absolute gem, and it was actually chosen by you!
These 1950s Butterscotch Slices took first place in our latest YouTube recipe poll, pulling in a solid 40% of the vote. (Don’t forget to check the YouTube community page for the next recipe poll so you can cast your vote!)
This recipe comes straight out of the 1950s appliance manual, “How to Enjoy Speed Cooking” with your new General Electric range. I love reviewing these retro range booklets because they offer a perfect snapshot of how the modern kitchen was changing American family life.
The History of the Refrigerator Cookie
Before electric refrigerators became a standard household staple, making a slice-and-bake cookie was a seasonal or frustratingly difficult task. As modern electric ranges and reliable refrigerators made their way into homes, appliance companies heavily promoted “icebox cookies.”
These recipes were designed to show off the wonders of modern temperature control. They gave the mid-century homemaker a way to prep dough on a quiet afternoon and have sliceable, ready-to-bake treats on hand for unexpected guests. Today, that same concept is an absolute lifesaver for busy families. It is ideal for moms or grandmas to have a quick way to pull together a homemade treat without having to pull out the mixing bowls and flour every single time.
My Modern Tweaks & The Wax Paper Box Trick
The original recipe is fantastic and simple to make, but I did make one old-school substitution: I swapped out the shortening for lard, which gives the cookies an incredibly tender, melt-in-your-mouth texture. Steve taste-tested this batch for the channel, and he fully approved of the swap!
The recipe also calls for shaping the dough into two 2×2-inch square bars. Instead of trying to freehand a perfect square, I use my wax paper box trick:

- Take an empty wax paper or aluminum foil box (they are perfectly square!).
- Line the inside of the box with plastic wrap.
- Press your cookie dough tightly into the lined box to mold it into a perfectly sharp 2×2-inch log.
- Lift the log out using the plastic wrap, wrap it up completely, and store it in the fridge until firm.
I just left mine as one long 2×2-inch bar instead of cutting it in half. It works perfectly!
Freezing for Later
I like the idea of having cookie dough on hand to slice and bake throughout the week, so I actually stored most of these in my freezer to bake later (which you can see in my latest YouTube video!).
How to freeze and bake later:

- Slice your chilled dough into 1/8-inch slices.
- Lay the slices flat on a parchment-lined baking sheet so they don’t touch, and freeze for about an hour until solid.
- Transfer the frozen slices into a freezer bag or airtight container.
- When you’re ready for a quick treat, just pull out what you need and place the frozen slices directly onto a greased baking sheet. Bake at 400°F, adding just 1 to 2 extra minutes to the original baking time.
1950s Butterscotch Slices Recipe
Adapted from the GE “How to Enjoy Speed Cooking” Manual
Ingredients:
- 3/4 cup lard (the original calls for shortening, but lard makes them incredible)
- 1 teaspoon vanilla extract
- 1 cup brown sugar, firmly packed
- 1 egg
- 1/2 cup nuts, very finely chopped (pecans or walnuts work beautifully)
- 2 cups sifted all-purpose flour
- 1/2 teaspoon baking soda
- 1/2 teaspoon cream of tartar
- 1/2 teaspoon salt
Instructions:
- Place the lard, vanilla extract, brown sugar, and egg in a mixing bowl. Beat thoroughly.
- Add the finely chopped nuts and mix well.
- In a separate bowl, sift together the flour, baking soda, cream of tartar, and salt.
- Divide the dry ingredients into two portions. Add the first half to the wet mixture and mix well. Add the remaining half and beat thoroughly.
- Knead the dough with your hands until smooth.
- Pack very firmly and shape into a 2×2-inch square bar (use the wax paper box trick mentioned above!). Wrap in plastic wrap or waxed paper.
- Chill in the refrigerator until firm.
- Cut into 1/8-inch slices and place on a greased baking sheet.
- Bake in a hot oven at 400°F for 6-8 minutes.
Makes about 60 cookies.

Nutritional Information (Estimated per cookie)
Based on 60 servings
- Calories: 58 kcal
- Total Fat: 3.5g
- Carbohydrates: 6g
- Sugars: 3.5g
- Protein: 0.8g
Whip up a batch this weekend, toss the slices in the freezer, and enjoy fresh-baked cookies all week long!
Leave a Reply