
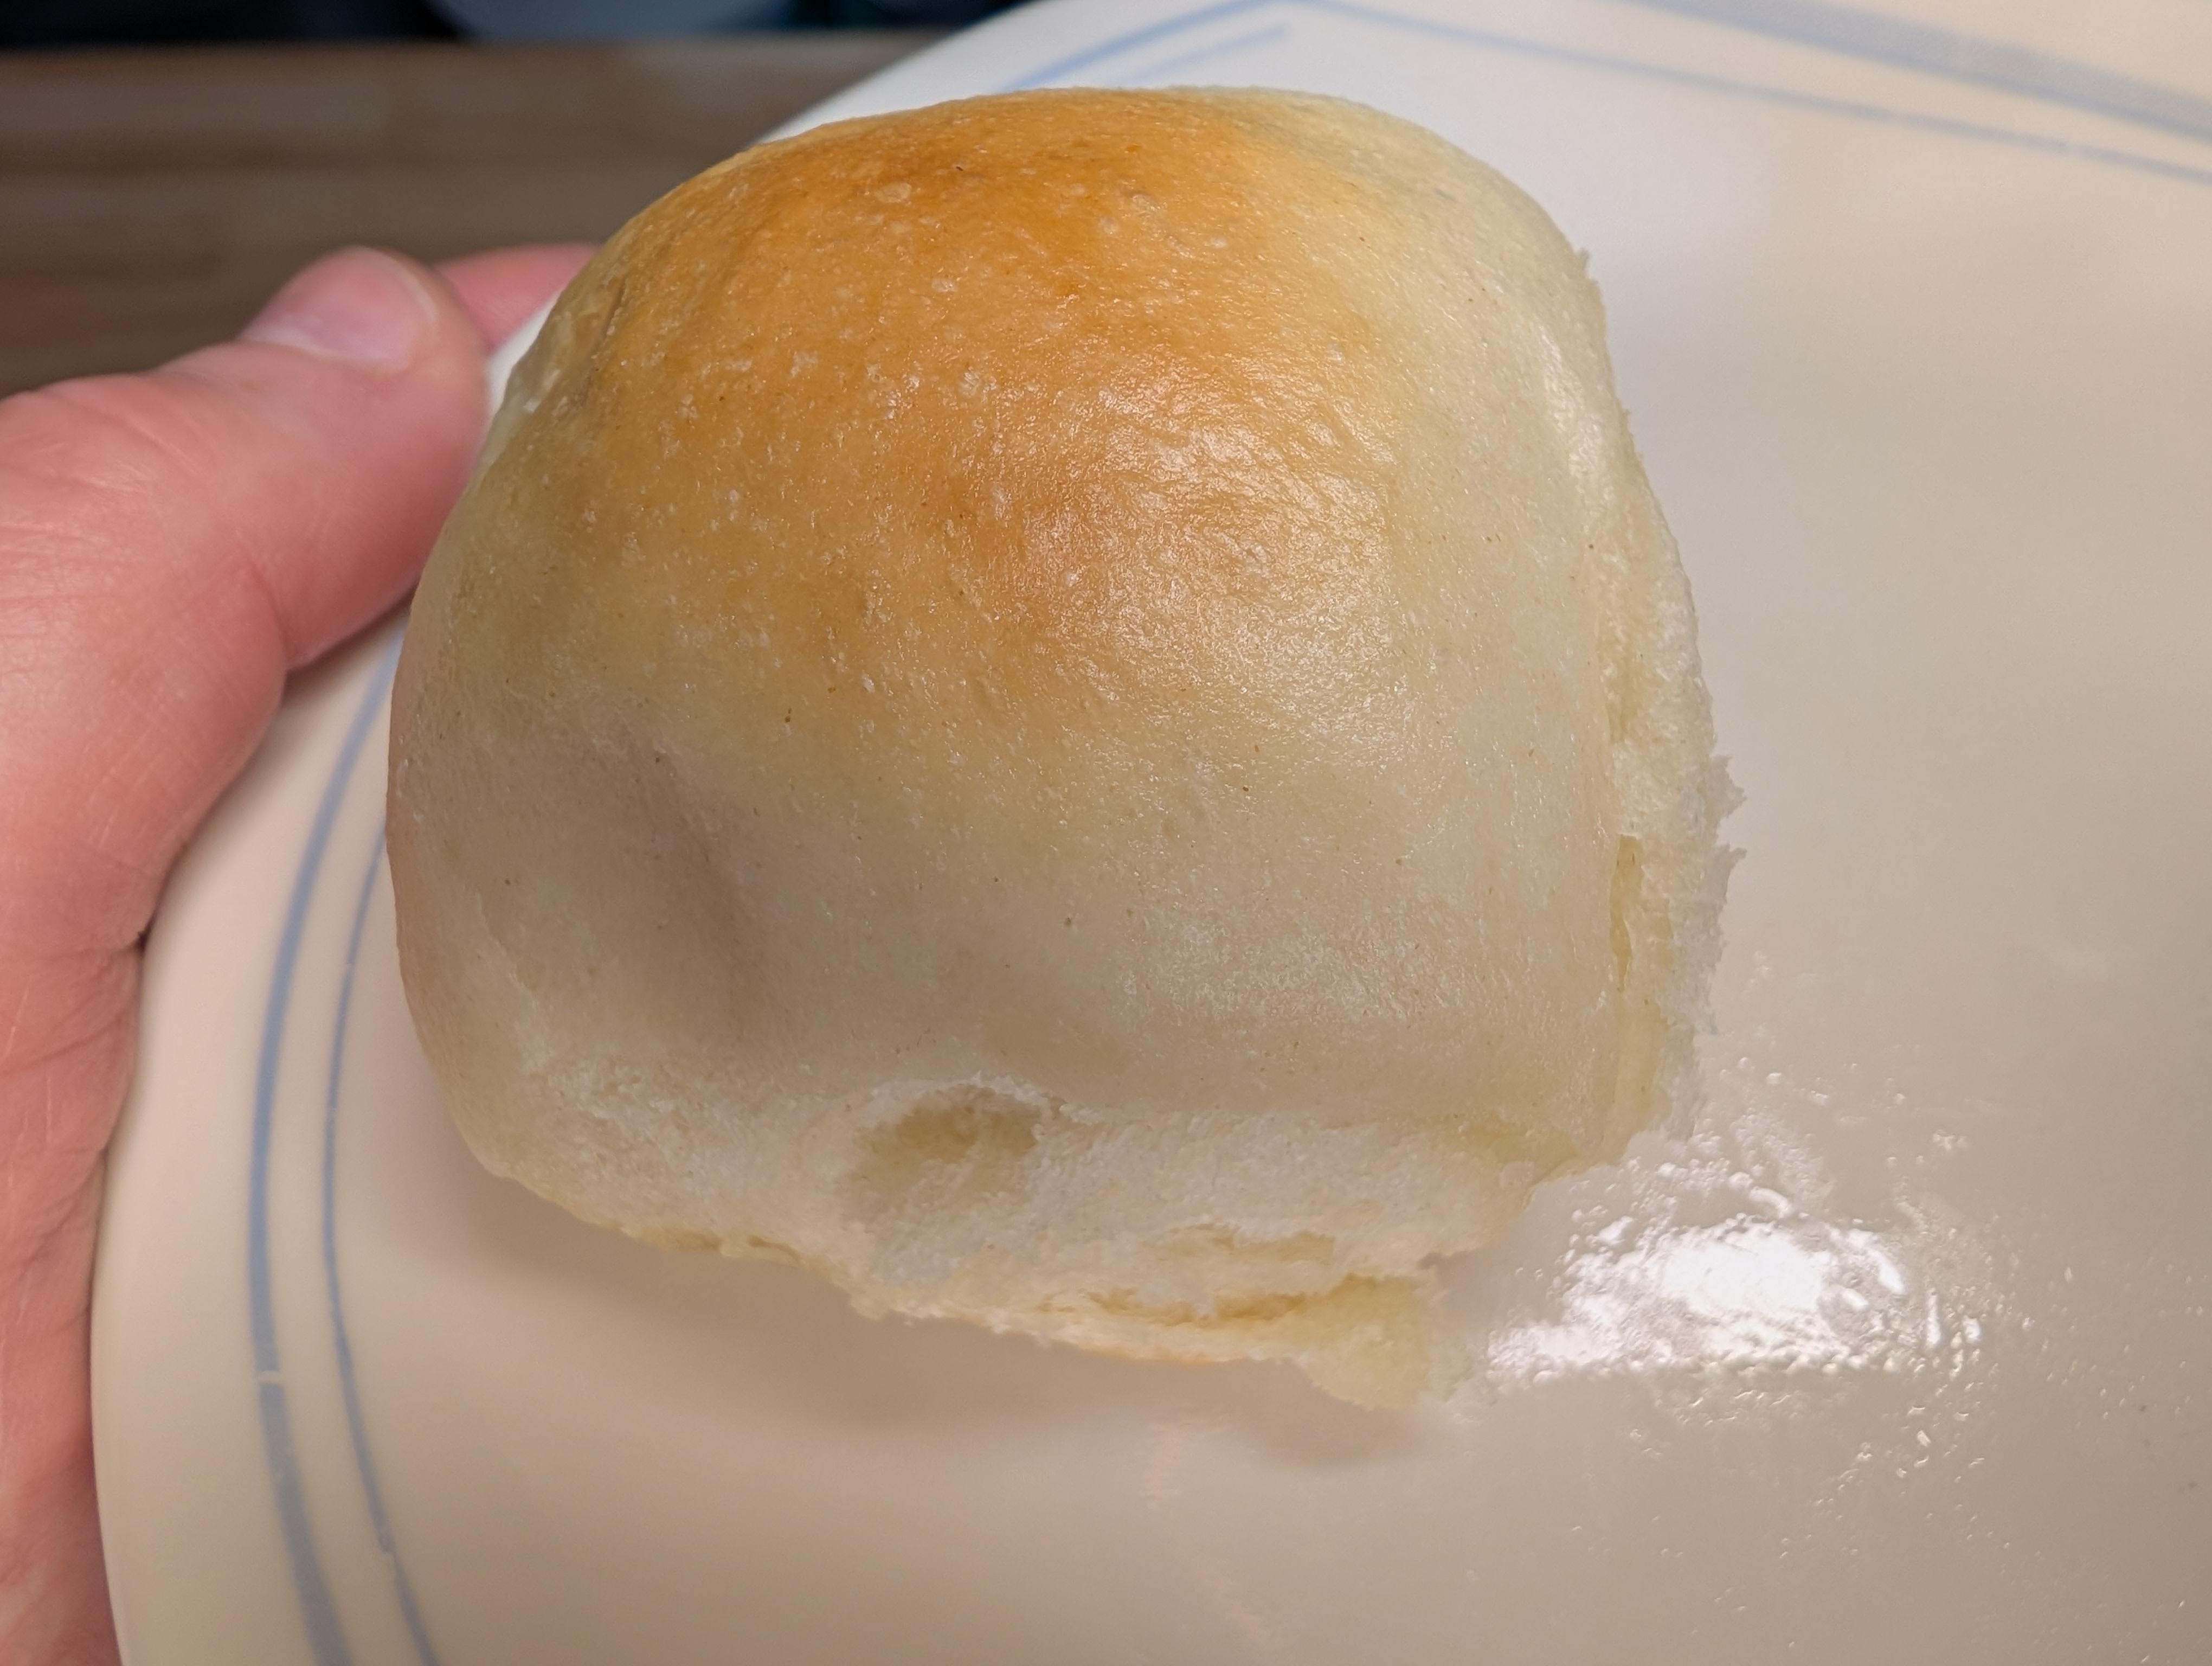
Refrigerator rolls—originally popularized as “icebox rolls”—are a cornerstone of 20th-century American baking. Their history is tied directly to the modernization of the kitchen, transforming fresh bread from an all-day chore into an on-demand convenience.
The Rise of the “Icebox”
The concept of slowing down yeast fermentation with cold temperatures wasn’t entirely new to professional bakers, but it wasn’t practical for home cooks until the widespread adoption of the electric domestic refrigerator.
If you flip through community and promotional cookbooks published between the 1930s and the 1960s, a recipe for refrigerator rolls is practically mandatory. They were heavily marketed during the Depression and post-war eras by companies like Fleischmann’s Yeast, promising homemakers they could mix a large batch of dough on a weekend, store it in the fridge, and pinch off just enough dough to bake fresh, hot rolls in a cast iron skillet for dinner every night of the week.
1920s: The Electric Refrigerator
As electric refrigerators began replacing block-ice “iceboxes,” home cooks gained the reliable, consistent cold storage required to safely retard yeast without over-proofing. They were advertised with the refrigerator brand name. Ex: Kelvinator Rolls, General Electric Rolls, ect.
1940s: Active Dry Yeast
The invention of active dry yeast for the US military during WWII meant home cooks no longer had to rely on highly perishable fresh yeast cakes, making make-ahead doughs significantly more reliable.
1950s: The Mid-Century Boom
The rolls became an absolute staple of traditional Southern cooking and mid-century dinner parties, beloved for their convenience and rich, buttery flavor.
The Science of the Dough
Refrigerator roll dough is formulated differently than standard bread dough so it can survive up to a week in the cold:
- High Sugar Content: The dough requires extra sugar. Because the yeast ferments slowly over 3 to 5 days, it needs a larger food supply so it doesn’t starve before you bake the final batch.
- Mashed Potatoes: Many classic mid-century recipes call for mashed potatoes or potato water. Potato starch holds onto moisture much better than wheat flour, ensuring the rolls stay incredibly tender even after days in the fridge.
This slow, cold fermentation (a process called “retardation”) does more than just save time. It actually develops a much more complex, slightly tangy flavor—sharing some flavor profile similarities with a mild sourdough—compared to bread that is mixed, proofed, and baked all in one afternoon.

Heads up: This post contains affiliate links. If you click through and buy something, BobbiJos.com may earn a small commission at no extra cost to you. Whether it’s my favorite cast iron skillet for Southern cooking or the molds I use for Bobbi Jo’s treats, I only recommend tools I genuinely love and use in my own kitchen!”
Products used in this recipe:
KitchenAid Artesian Stand Mixer – https://amzn.to/3UCs41e
Pyrex 9×9 baking dish – https://amzn.to/45xtpc9
King Arthur AP Flour – https://amzn.to/4x5FG3H
Red Star Active Dry Yeast – https://amzn.to/3TY0TxP

Vintage Refrigerator Rolls
Course: Bread, Recipes36
servings30
minutes15
minutes142
kcalRise Time: 1 1/2 hours Chill Time: 8 hours
Ingredients
1 package active dry yeast or 2 1/4 tsp
1/2 cup warm water (105-115°F)
1/2 cup soft butter(I used unsalted butter) – original recipe called for margarine
1/2 cup shortening – I’used Lard
1/2 cup granulated sugar1 cup unseasoned hot mashed potatoes
1 cup cold water
1 1/2 tsp salt
6 to 6 1/2 cups sifted all-purpose flour – I used King Arthur Unbleached All Purpose
Directions
- Activate the yeast: Sprinkle the yeast into the warm water in a small bowl and stir to dissolve. Let it sit for about 5 minutes until frothy.
- Combine the base ingredients: Temperature is critical here. In a large mixing bowl, mix the soft butter, shortening, sugar, and hot mashed potatoes together. Immediately stir in the cold water—this step is crucial as it cools the hot potatoes down so they don’t kill the yeast in the next step.
- Form the dough: Once the potato mixture is lukewarm, stir in the yeast mixture and the salt. Gradually add the sifted flour, 1 cup at a time, mixing until it forms a stiff dough. Turn it out onto a lightly floured surface and knead briefly (about 5 minutes) just until smooth and elastic. (I used my KitchenAid and kneaded with the dough hook for 5 minutes)
- Refrigerate: Place the dough in a large, greased bowl and turn it so the top is lightly greased. Cover the bowl tightly with waxed paper or foil, then a clean towel, and place it in the refrigerator. Let it chill for at least 8 hours (the dough will keep for up to 3 to 5 days).
- Shape and bake: When ready to serve, punch down the cold dough and pinch off exactly what you need, returning the rest to the fridge. Shape into rolls, place them in a greased pan, and let them rise at room temperature for 1 to 1.5 hours until doubled in size. Bake at 400°F for 12 to 15 minutes until golden brown.
TWO OPTIONS FOR FREEZING THE ROLLS
Option 1
You can freeze the dough, but ideally for only 1 to 2 months rather than indefinitely.
Standard active dry yeast struggles to survive prolonged freezing temperatures without the specialized dough conditioners used in commercial frozen foods. If left in the freezer for too many months, a large portion of the yeast will die off, resulting in flat, dense rolls that refuse to rise.
For the best results, it is much easier to freeze the dough after shaping it rather than freezing a giant, unshaped lump.
How to Freeze the dough
- Shape first: Pinch off the cold dough and shape your rolls as you normally would.
- Flash freeze: Place the shaped rolls on a parchment-lined baking sheet, making sure they do not touch. Place the sheet in the freezer for 1 to 2 hours until the rolls are completely solid.
- Bag them up: Transfer the frozen solid dough balls into an airtight freezer bag or container. Squeeze out as much air as possible to prevent freezer burn.
How to Bake from Frozen You cannot bake yeast dough straight from the freezer; the yeast needs time to wake up and create the air bubbles that make the rolls soft.
- Pan them: Place the desired number of frozen rolls into a greased baking pan.
- Thaw and rise: Cover them lightly with a greased piece of plastic wrap or a clean towel and leave them at room temperature. They need to completely thaw and then undergo their second rise to double in size. Because they are starting from a frozen state, this will take significantly longer than fresh dough—typically 4 to 6 hours.
- Bake: Once doubled in size and puffy, bake at 400°F for 12 to 15 minutes until golden brown.
Option 2
For most home bakers, freezing the rolls after they are fully baked is the better, more foolproof option.
Because these are potato rolls, the starches from the mashed potatoes lock in moisture, meaning they survive the freezer beautifully without drying out the way standard bread sometimes can.
Here is why freezing them baked is usually preferred over freezing the raw dough:
- Zero yeast risk: The yeast has already done its job in the oven. You don’t have to worry about the cold temperatures killing the yeast or the rolls failing to rise later.
- Longer freezer life: Fully baked rolls will keep in the freezer for 2 to 3 months while maintaining excellent quality.
- On-demand convenience: Instead of waiting 4 to 6 hours for frozen raw dough to thaw and rise, baked rolls can go from the freezer to the dinner table in about 15 minutes.

How to Freeze and Reheat Baked Rolls
To Freeze:
- Cool completely: Let the baked rolls cool on a wire rack until they are 100% room temperature. (If they are even slightly warm, condensation will form in the bag and turn into ice crystals, which causes freezer burn).
- Wrap tightly: Place the rolls in a heavy-duty freezer bag or container, squeezing out as much air as possible. For extra protection, you can wrap them tightly in aluminum foil before putting them in the bag.
To Reheat: You do not even need to thaw them first. Simply place the frozen baked rolls on a baking sheet, cover them lightly with foil so the tops don’t over-brown, and warm them in a 300°F oven for about 15 to 20 minutes until they are soft and heated all the way through.
Leave a Reply