Skip to content
Home
About
Contact
Search
Search
YouTube
Instagram
Pinterest
Recipes
July 27, 2026
Hardee’s Copycat Biscuit Recipe
September 18, 2024
Mastering Your KitchenAid: Tips for Using the Fresh Prep Slicer/Shredder Attachment
September 11, 2024
Indulge Guilt-Free: Easy Low-Carb Shrimp Quesadilla
September 4, 2024
Homemade Hamburger Patties Made Easy: A Step-by-Step Guide with a KitchenAid Mixer and Burger Press
February 11, 2024
Love At First Bite: Better Bacon Mac & Cheese
February 7, 2024
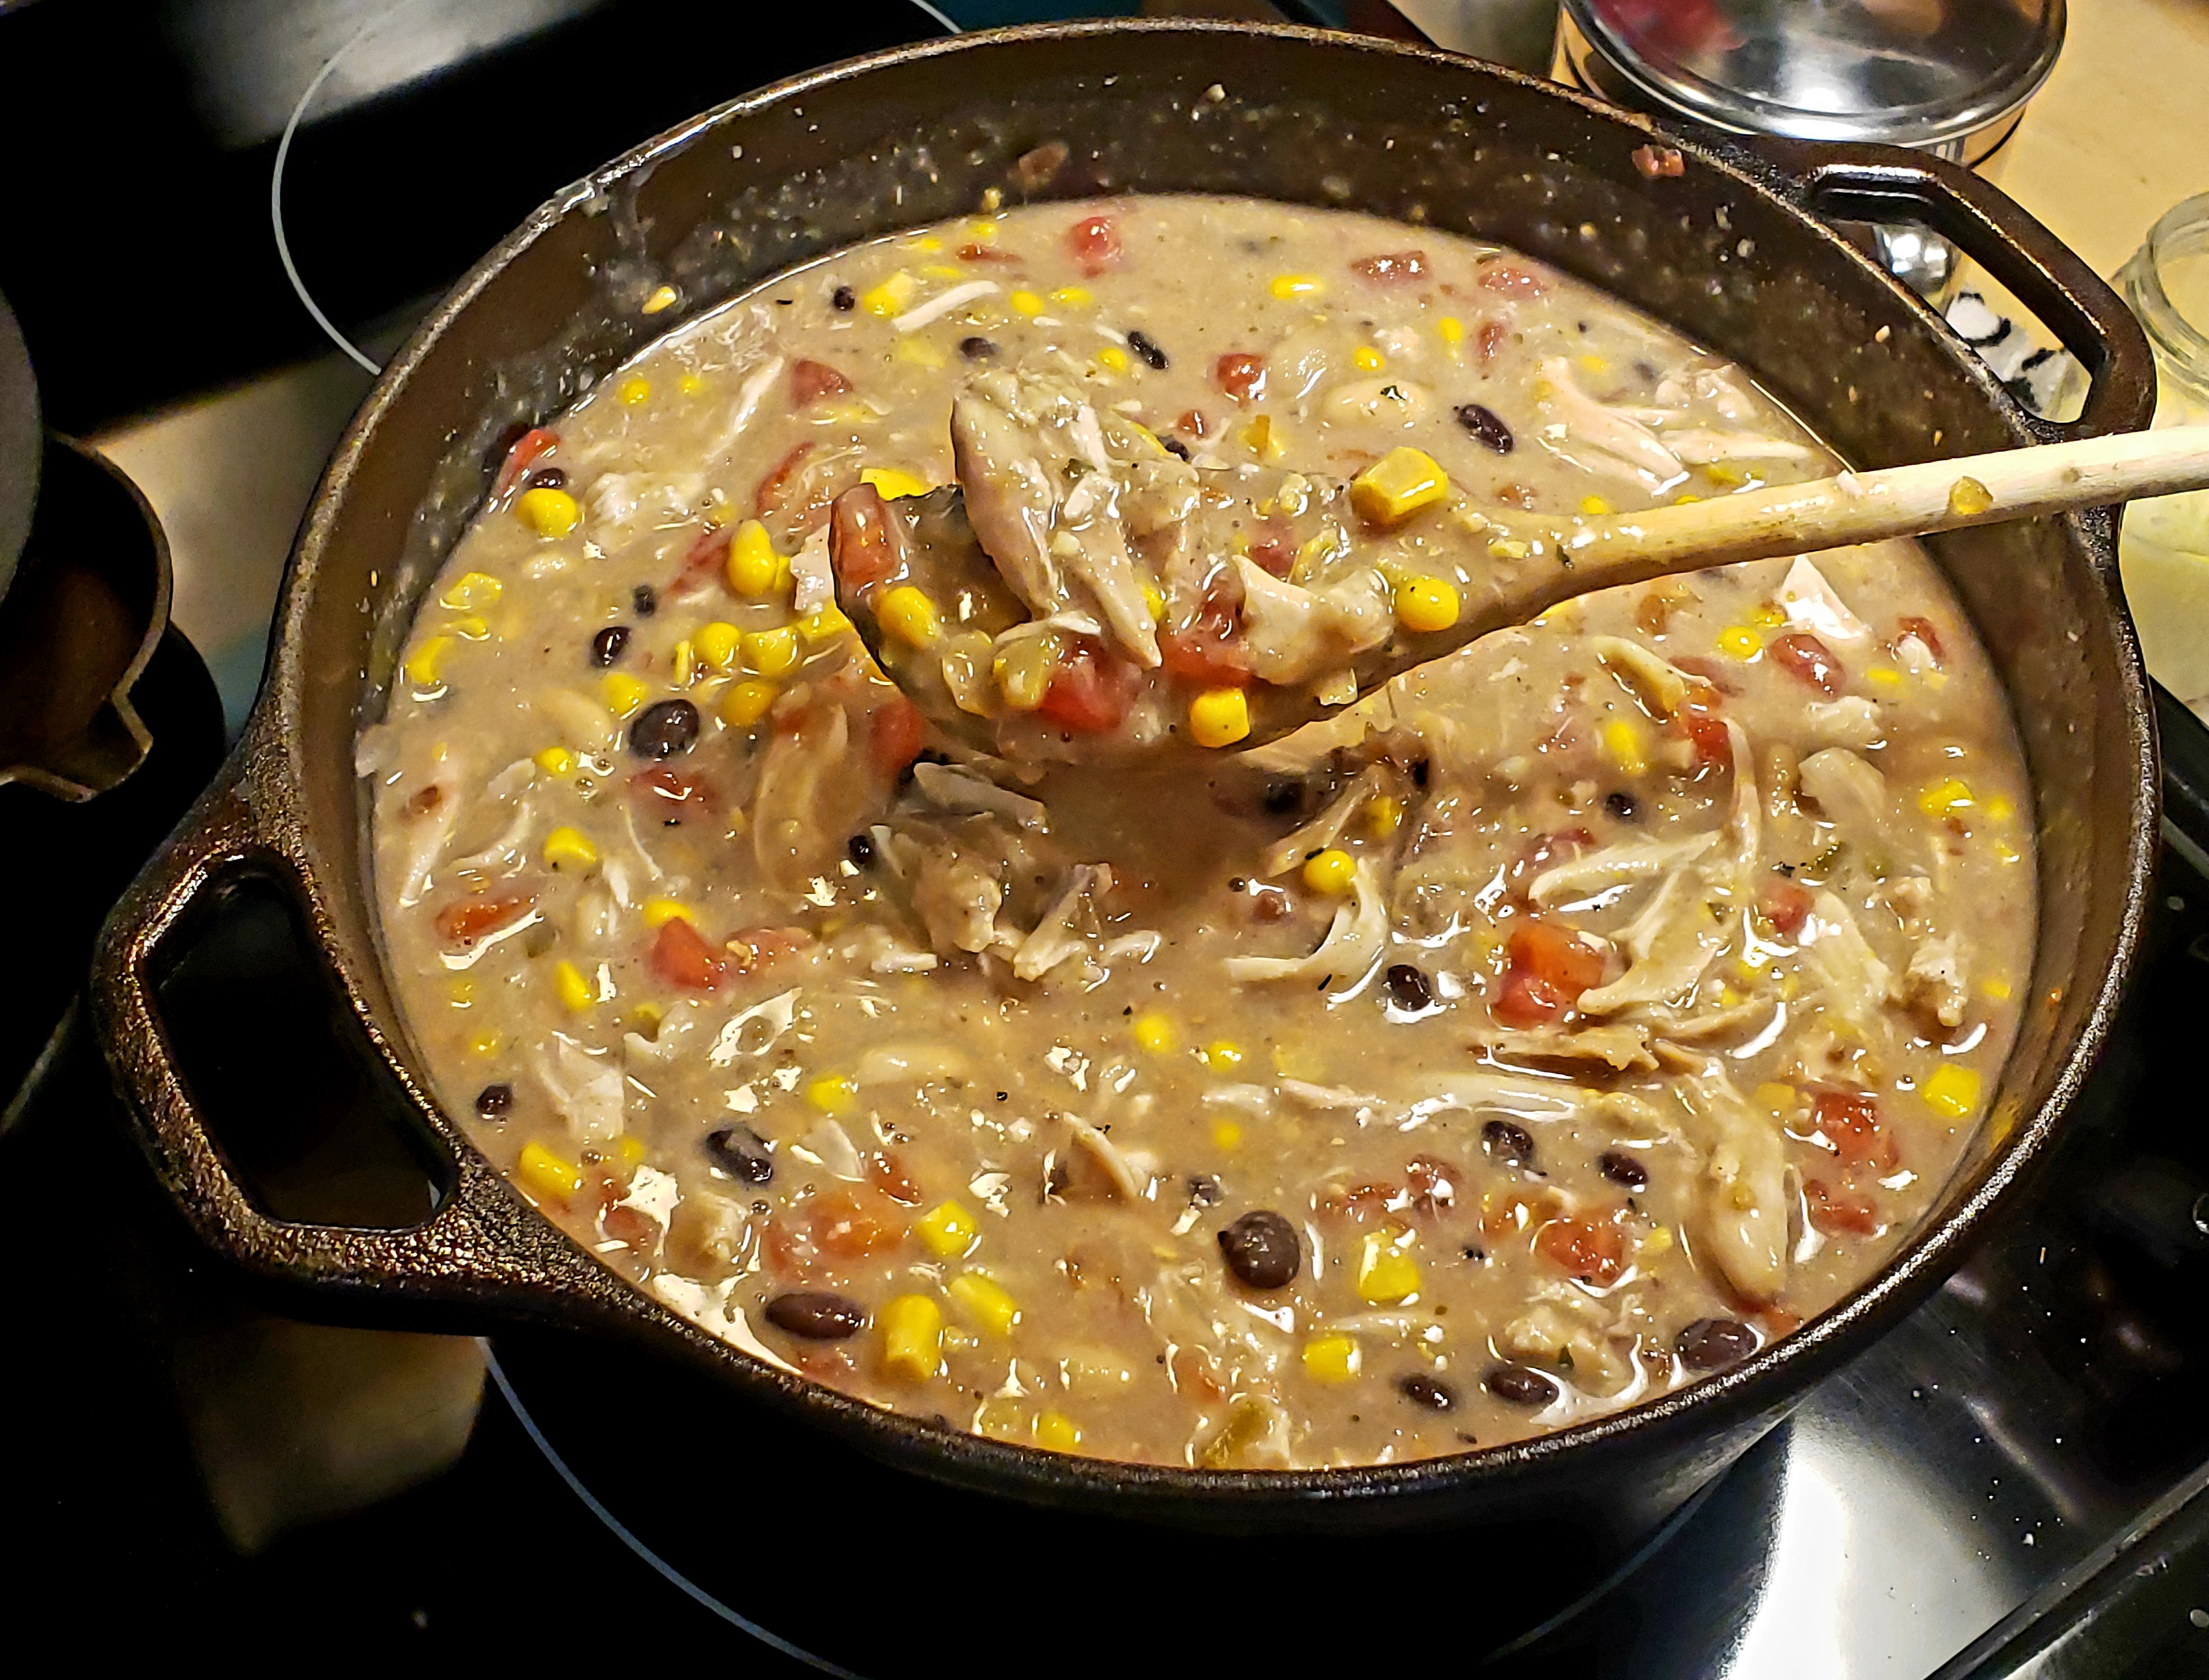
Better Than Chick-fil-A: The Ultimate Chicken Tortilla Soup Recipe
January 23, 2024
Nostalgic Delight: Reviving the 80s with Our Enhanced Hamburger Helper Rice Oriental Recipe
October 25, 2023
Slow Cooker No Sugar Added Brunswick Stew
October 17, 2023
How to Make Mouthwatering Pulled Pork: A Versatile Slow Cooker Delight
October 11, 2023
Preserving Fresh Flavors: A Guide to Freezing Peppers and Onions
Next Page
→
Loading Comments...
Write a Comment...
Email (Required)
Name (Required)
Website